To create a CSV file in PowerShell, you can use the following set of commands:
|
1 2 |
New-Item file.csv Set-Content file.csv 'First Name,Last Name,Age' |
This is how it looks like inside PowerShell.
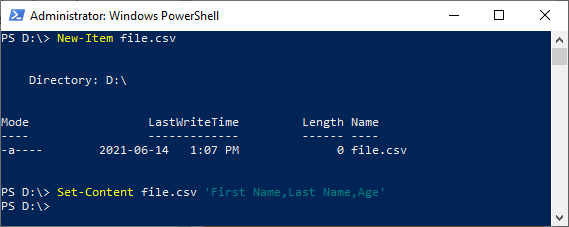
The first line creates a file and the second one adds three values: First Name, Last Name, Age.
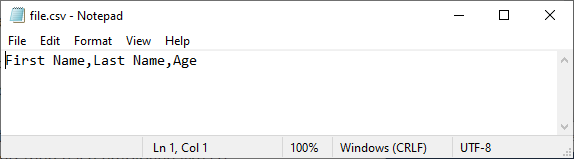
If you open a file in a text editor, the three values are going to be separated by a delimiter. In our case, it’s a comma.
Since the CSV file is just a text file separated by a delimiter (comma in our example), you can easily open this file in a text editor.
It’s the exact text we typed in the terminal.
If you try to add another text with the Set-Content cmdlet, the value that you added earlier will be overwritten at the first line.
Instead, we are going to use a different cmdlet, called Add-Content.
|
1 2 |
Add-Content file.csv 'John,Doe,54' Add-Content file.csv 'Emilia,Plater,25' |
Two new rows are added. Each row is added after the previous one. Therefore the rows are inserted into rows 2 and 3.

You can open this file in Excel, and you are going to get each value separated by a comma inside a different cell unless you changed the default separator.
Create the file using the foreach loop
Instead of inserting one line per command, you can use the foreach loop. First, you have to use Set-Content to create a file and add a header, then it adds values from the list using the foreach loop.
|
1 2 3 4 5 6 |
Set-Content file.csv 'First Name,Last Name,Age' $people = @( 'John,Doe,54' 'Emilia,Plater,25' ) $people | foreach { Add-Content file.csv -Value $_ } |
The result of this example is the same as before.

Checking the CSV file
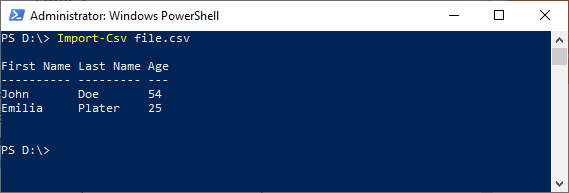
We created a CSV file. Now, we can check its structure with the Import-CSV cmdlet.
|
1 |
Import-Csv file.csv |
The contents of the file are printed on the terminal, so we can be sure that the structure is correct.